 This has been our home for the last month. John Prince Park campground in Lake Worth Florida. It is a very nice campground inside a huge park with lakes, a golf course, sports fields and miles and miles of walking paths. It is an urban oasis. The weather since we have arrived has been warm with lots of rain --- more on that later.
 When we first arrived we had my daughter Maggie fly down for a visit! I love spending time with my children and it was wonderful to have her company. I think she enjoyed escaping winter in New Jersey for a few days. We spent New Years Eve together, waiting for midnight by watching The Hobbit at an IMax theater in Palm Beach where they have a lively New Years celebration in their "City Center".
 There aren't many places in the continental United States where the temperatures are summer warm all winter. The best chance of escaping winter in Florida is to stay south of Lake Okeechobee which has lead Lucie's family and lots of Quebecois to escape the Canadian winter down here. This campground has more Quebecois than English speaking people! So what did Lucie do as soon as we got settled here? She flew back to Vermont for a week to spend time with her grandchildren!
While she was gone I got to experience the full brunt of this Florida tropical climate. A bit of extreme weather left Lake Worth and the campground where I was staying inundated with rain water and we were flooded for three days.
It wasn't really an inconvenience but the humidity and warmth lead to mildew on everything. By the time Lucie returned from Vermont the waters had receded and everything was back to normal.
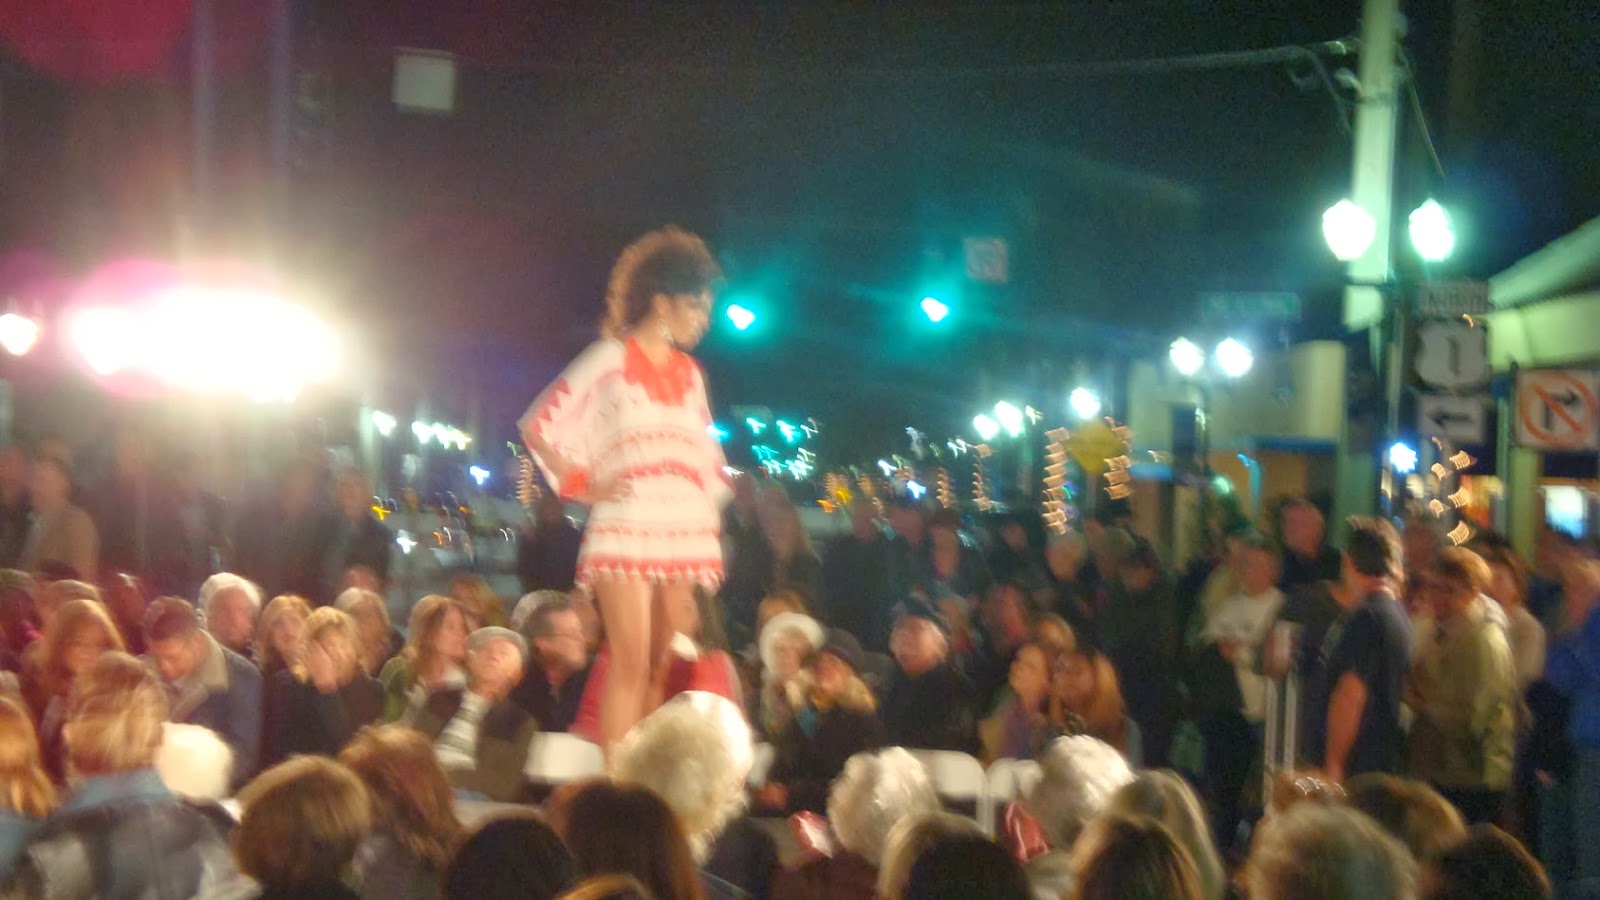
We have gone several times to Del Ray FL, a little south of here, where we have enjoyed the many artists and galleries, a lively night life and a free fashion show at night on the main street. Del Ray has become our "night out" destination, where winters past when we have visited we tended to go to Palm Beach.
Atlantic Avenue in Del Ray at night.
We finally got our inflatable kayak out and spent some time touring the waterways here in John Prince Park. Because this used to be part of the everglades there is an extensive network of canals and lakes that make for a pleasant paddle. I was keeping my eyes open for alligators, but Lucie was just as happy that the only wildlife we saw was birds.
We've gone to the beach several times. It is a popular destination with lots of activity and many people frolicking in the waves. This day there was a sandcastle competition starting.
Here we are at the Lake Worth public beach. Thankfully there are large sections of the beach that are open to the public.
This is Lucie's Dad. It has been a real joy hanging out with him and his wife Christine who winter here in Lake Worth along with several of Lucie's cousins and aunts and uncles. We had a traditional French Canadian New Years Day celebration with all of them at Uncle John's. Got together to watch the Football playoffs and had many wonderful meals together, including having Lucie's Dad and Christine over to the RV one evening.
Several days before we left I finally saw an alligator (can you see it in the grass, upper left?) I'm afraid that was the end of going out in the inflatable kayak though!
 Tomorrow morning we will pack up the RV and head north to Orlando to attend the big winter Technology in Education conference, FETC. This month in Lake Worth has been wonderful and warm. Being surrounded by Lucie's family has added immensely to our enjoying our stay here.


.PNG)


